Shottr start guide
If you haven’t installed Shottr yet, go to https://shottr.cc, click on the big Download button, open the downloaded file and drag Shottr into the Applications folder. Don’t launch the app directly from the mounted disk and never copy it to a location other than the Applications folder, otherwise macOS might tie permissions to the temporary copy and you won’t be able to re-grant them easily.
Meeting the app
On the first launch, Shottr will ask you for the permission to record your screen. Shottr never actually “records” the screen, but it takes screenshots, and in macOS terminology screenshot is a very short recording. Normally it's enough to just click "Allow" when macOS prompts you, but if something goes wrong, you could always go to System Settings → Privacy & Security → Screen & System Audio Recording → enable Shottr.
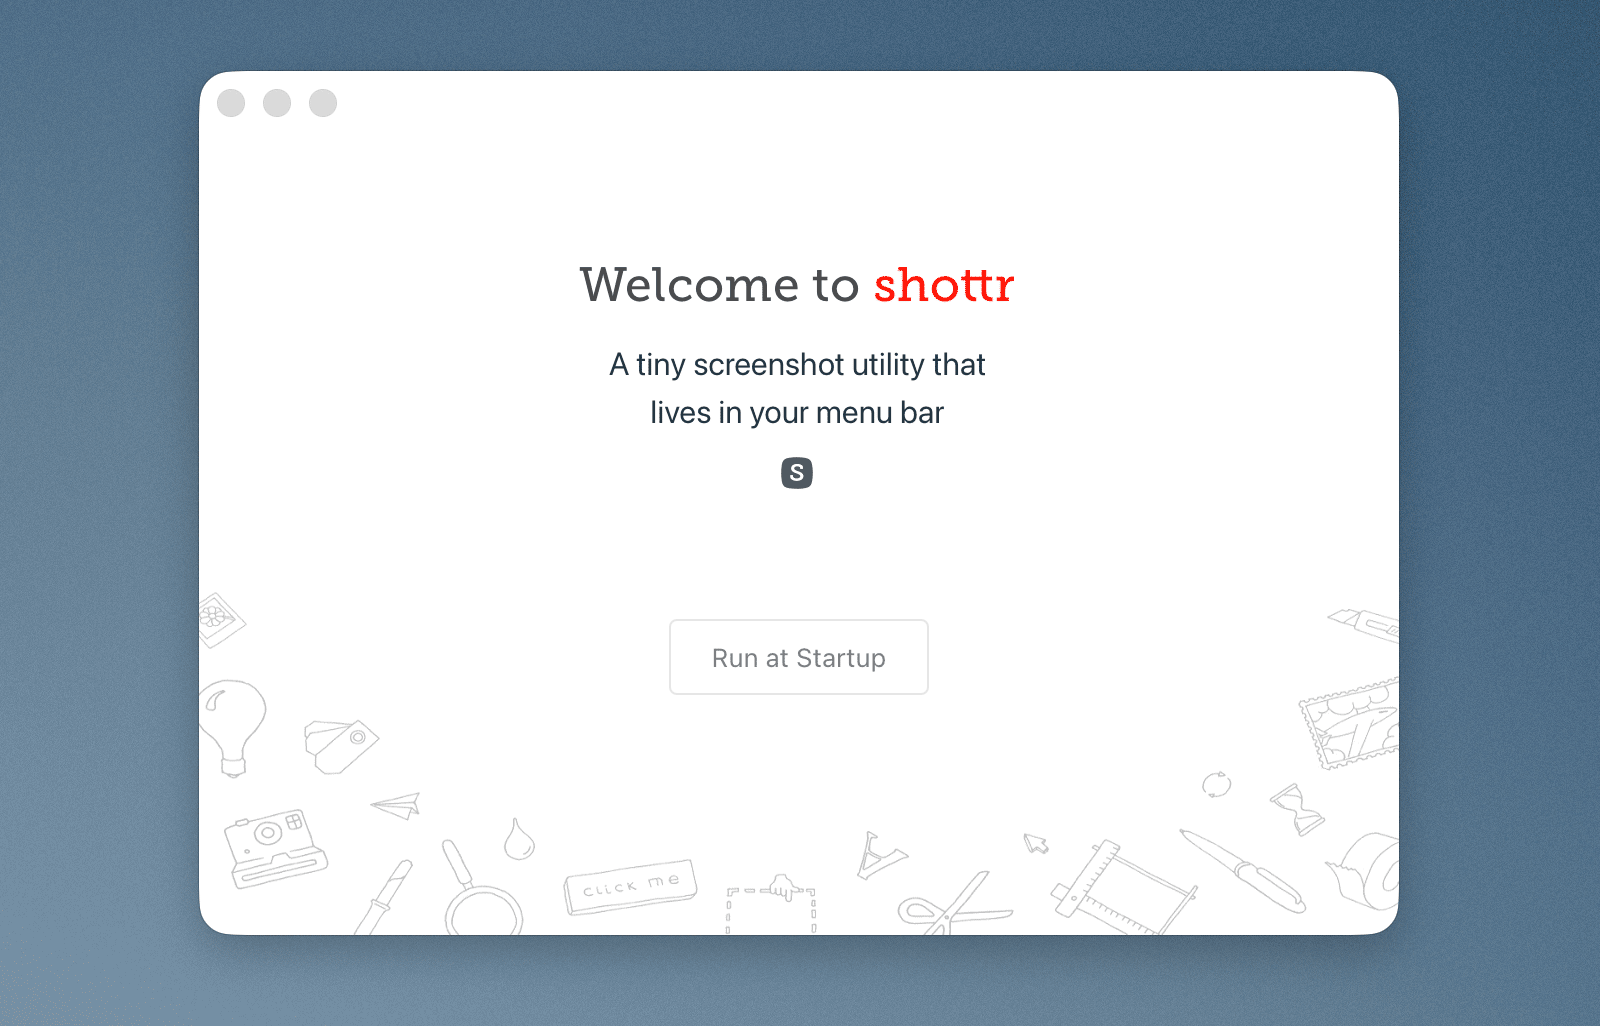
Shottr is a background app, it lives in the menu bar. When you launch it you see a small intro window. It may let you know there’s an update, or it might nudge you toward configuring the hotkeys. But it’s mainly there to signal that the app has started successfully, and if there’s nothing important to say, that welcome window will hide automatically. Most of the time the app sits quietly in the background until you explicitly invoke it.
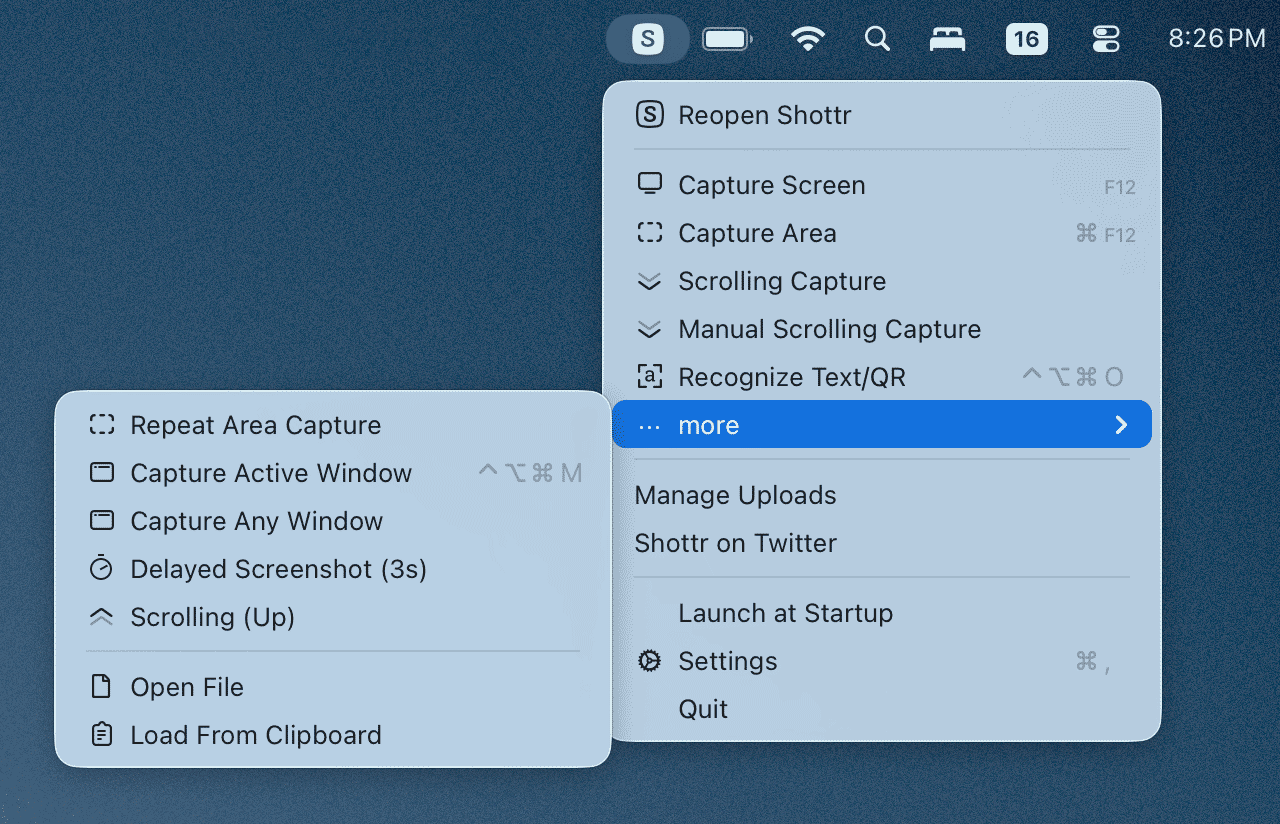
There are two primary ways to take a screenshot with Shottr: via the menu bar icon menu, or using a hotkey. The hotkey is the most practical approach that most people prefer, but if you’re exploring the app for the first time, I’d suggest starting with the menu. Look for an icon with the letter S in the upper-right corner of the screen, next to the system clock. This icon reveals the available screenshot commands, and provides a quick access to the app Settings:
If you don't see Shottr icon in the menu bar, it's possible that it got under the notch or that macOS hid it because it thought the menu bar got crowded. Try quiting some of the menu bar apps, or moving a couple of visible menubar icons as far left as they would go (cmd+drag the icon) and see if it frees up space for Shottr icon to become visible. If a third party app suppresses Shottr icon, you could often spot it by rebooting your computer in Safe Mode (restart the computer and hold Shift right after the chime during startup).
Taking your first screenshot
The “Capture Area” option is similar to the built-in macOS screenshot tool: you click-and-drag to select a region on the screen, and Shottr grabs that area. Area Capture is easy to start with, but less convenient in the long run. With Shottr, the more efficient approach is to use the “Capture Screen” option, then select the desired region inside the Shottr window, and hit Enter to apply the crop. This way you freeze the screen at the moment of capture, may use zoom magnification to make a precise selection, and can readjust the region before you finalize the crop. Besides, Shottr can help you make an accurate selection in a semi-automatic way:
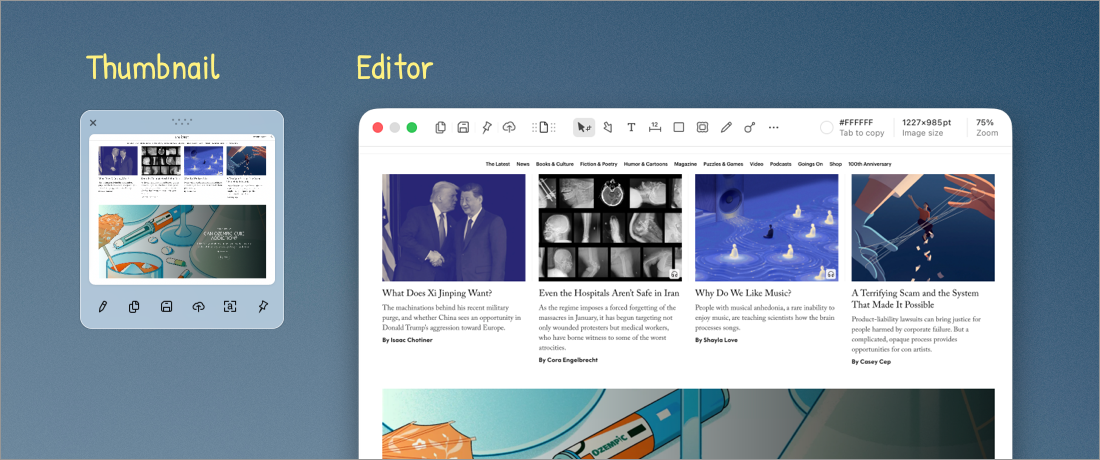
When you engage an Area Capture for the first time, Shottr will ask how you want the result to appear. Some people are more comfortable getting the “Editor” every time, while others prefer a small floating thumbnail to pop up near the cursor. The preview thumbnail gives you fast actions like saving, copying, extracting text and QR codes, or pinning the screenshot, and it doesn’t force you into a full editing session. And if you do need to edit your capture, the pencil icon on the thumbnail takes you straight into the editor anyway. Shottr remembers your preference, and you can always switch between the Editor and Thumbnail in the app Settings.
Editing Screenshots
The Editor is the place where you can annotate your image. You can draw arrows, geometric shapes, add text labels, blur sensitive information, and so on. Every annotation is adjustable: you can select it later, move it around, resize it, and tweak it until it looks right.
When you click on an annotation object, a small floating toolbar appears in the top-right area of the Editor. Think of it as the properties panel for whatever object you have selected. This is where you adjust things like color and size, and depending on the tool, its style and behavior.
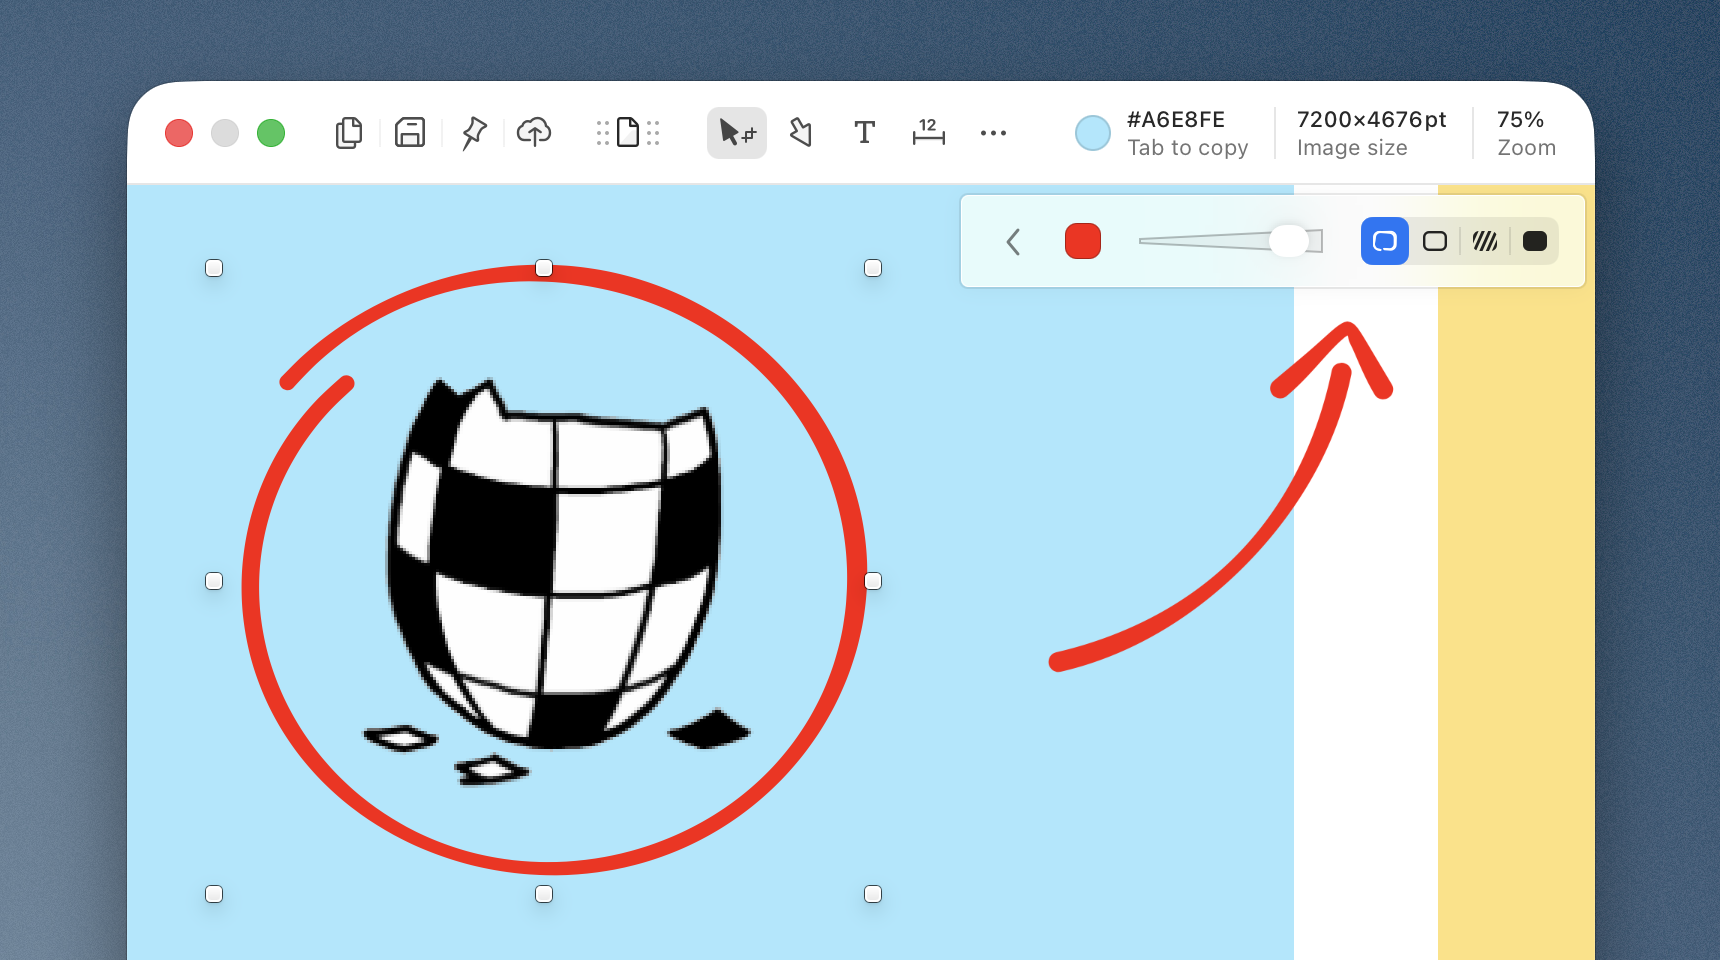
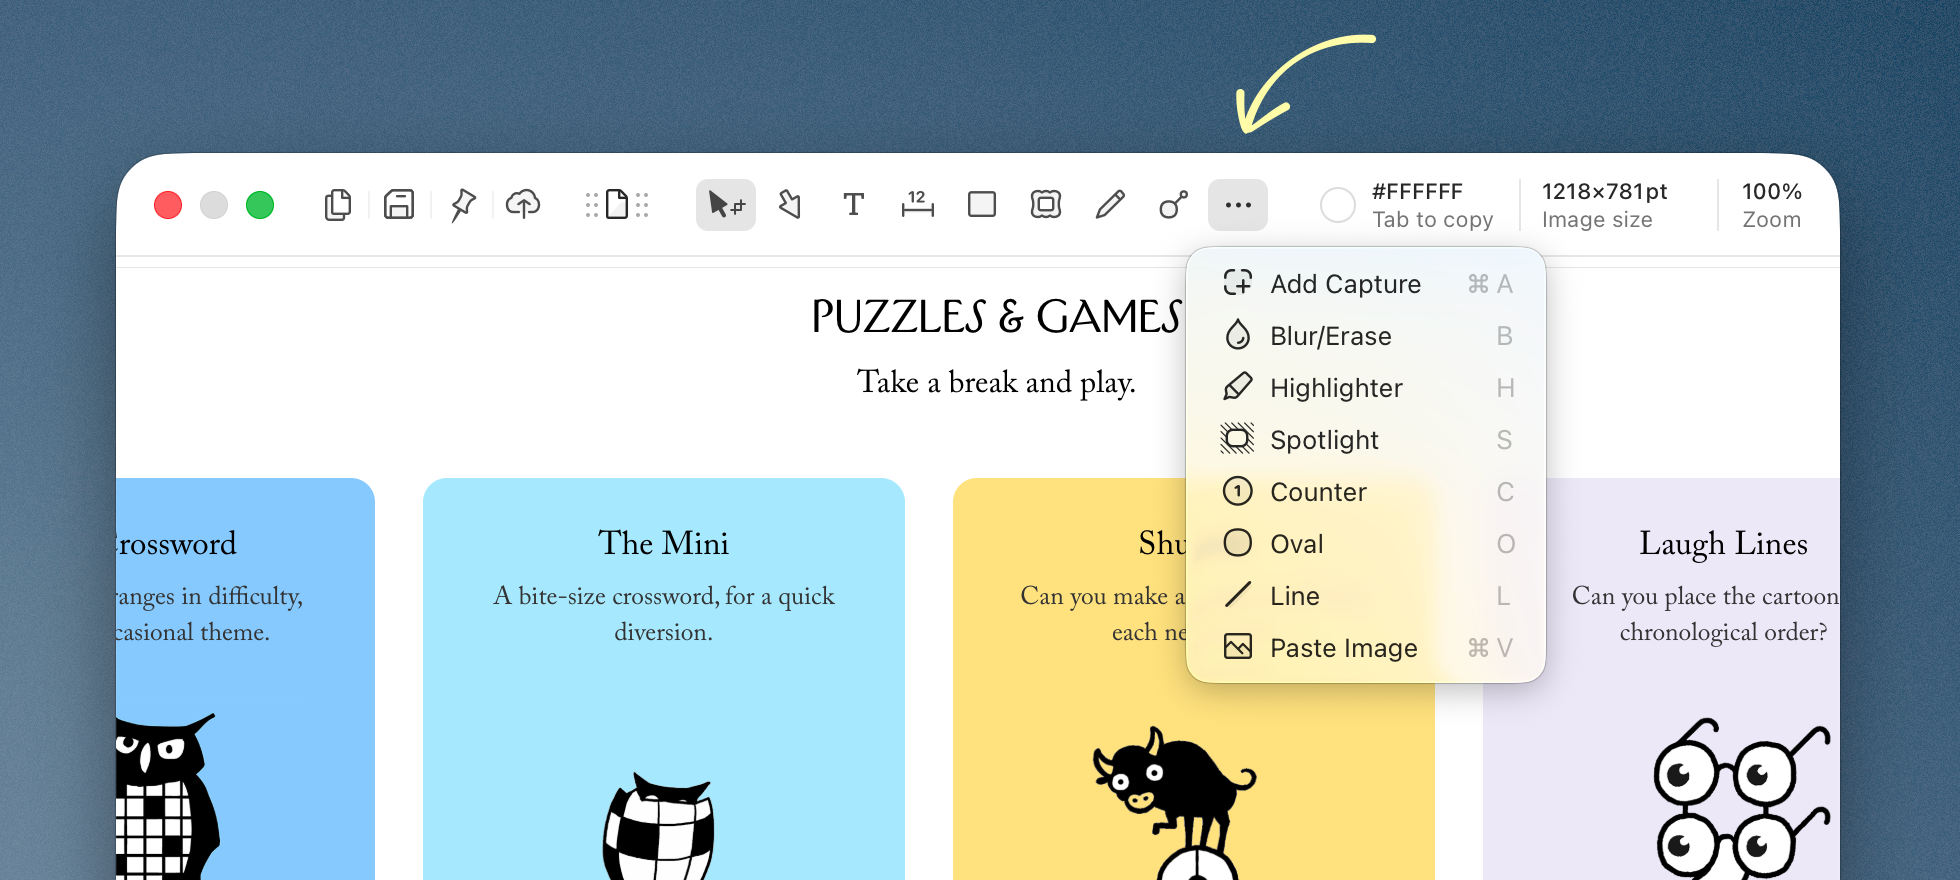
If the toolbar gets crowded, some tools may be tucked into a “more tools” area, and you need to click on the three-dots icon to see them:
One of the most versatile tools is “Crop/Select” that is active by default. As you already know, you can crop the image to selection by hitting Enter. Or, if you hit Delete, Shottr will erase the object inside of the selection marquee, replacing it with the uniform background. You can copy text from the selected area by pressing Cmd+O, or with the button in the toolbar.
Saving, Copying and Sharing Images
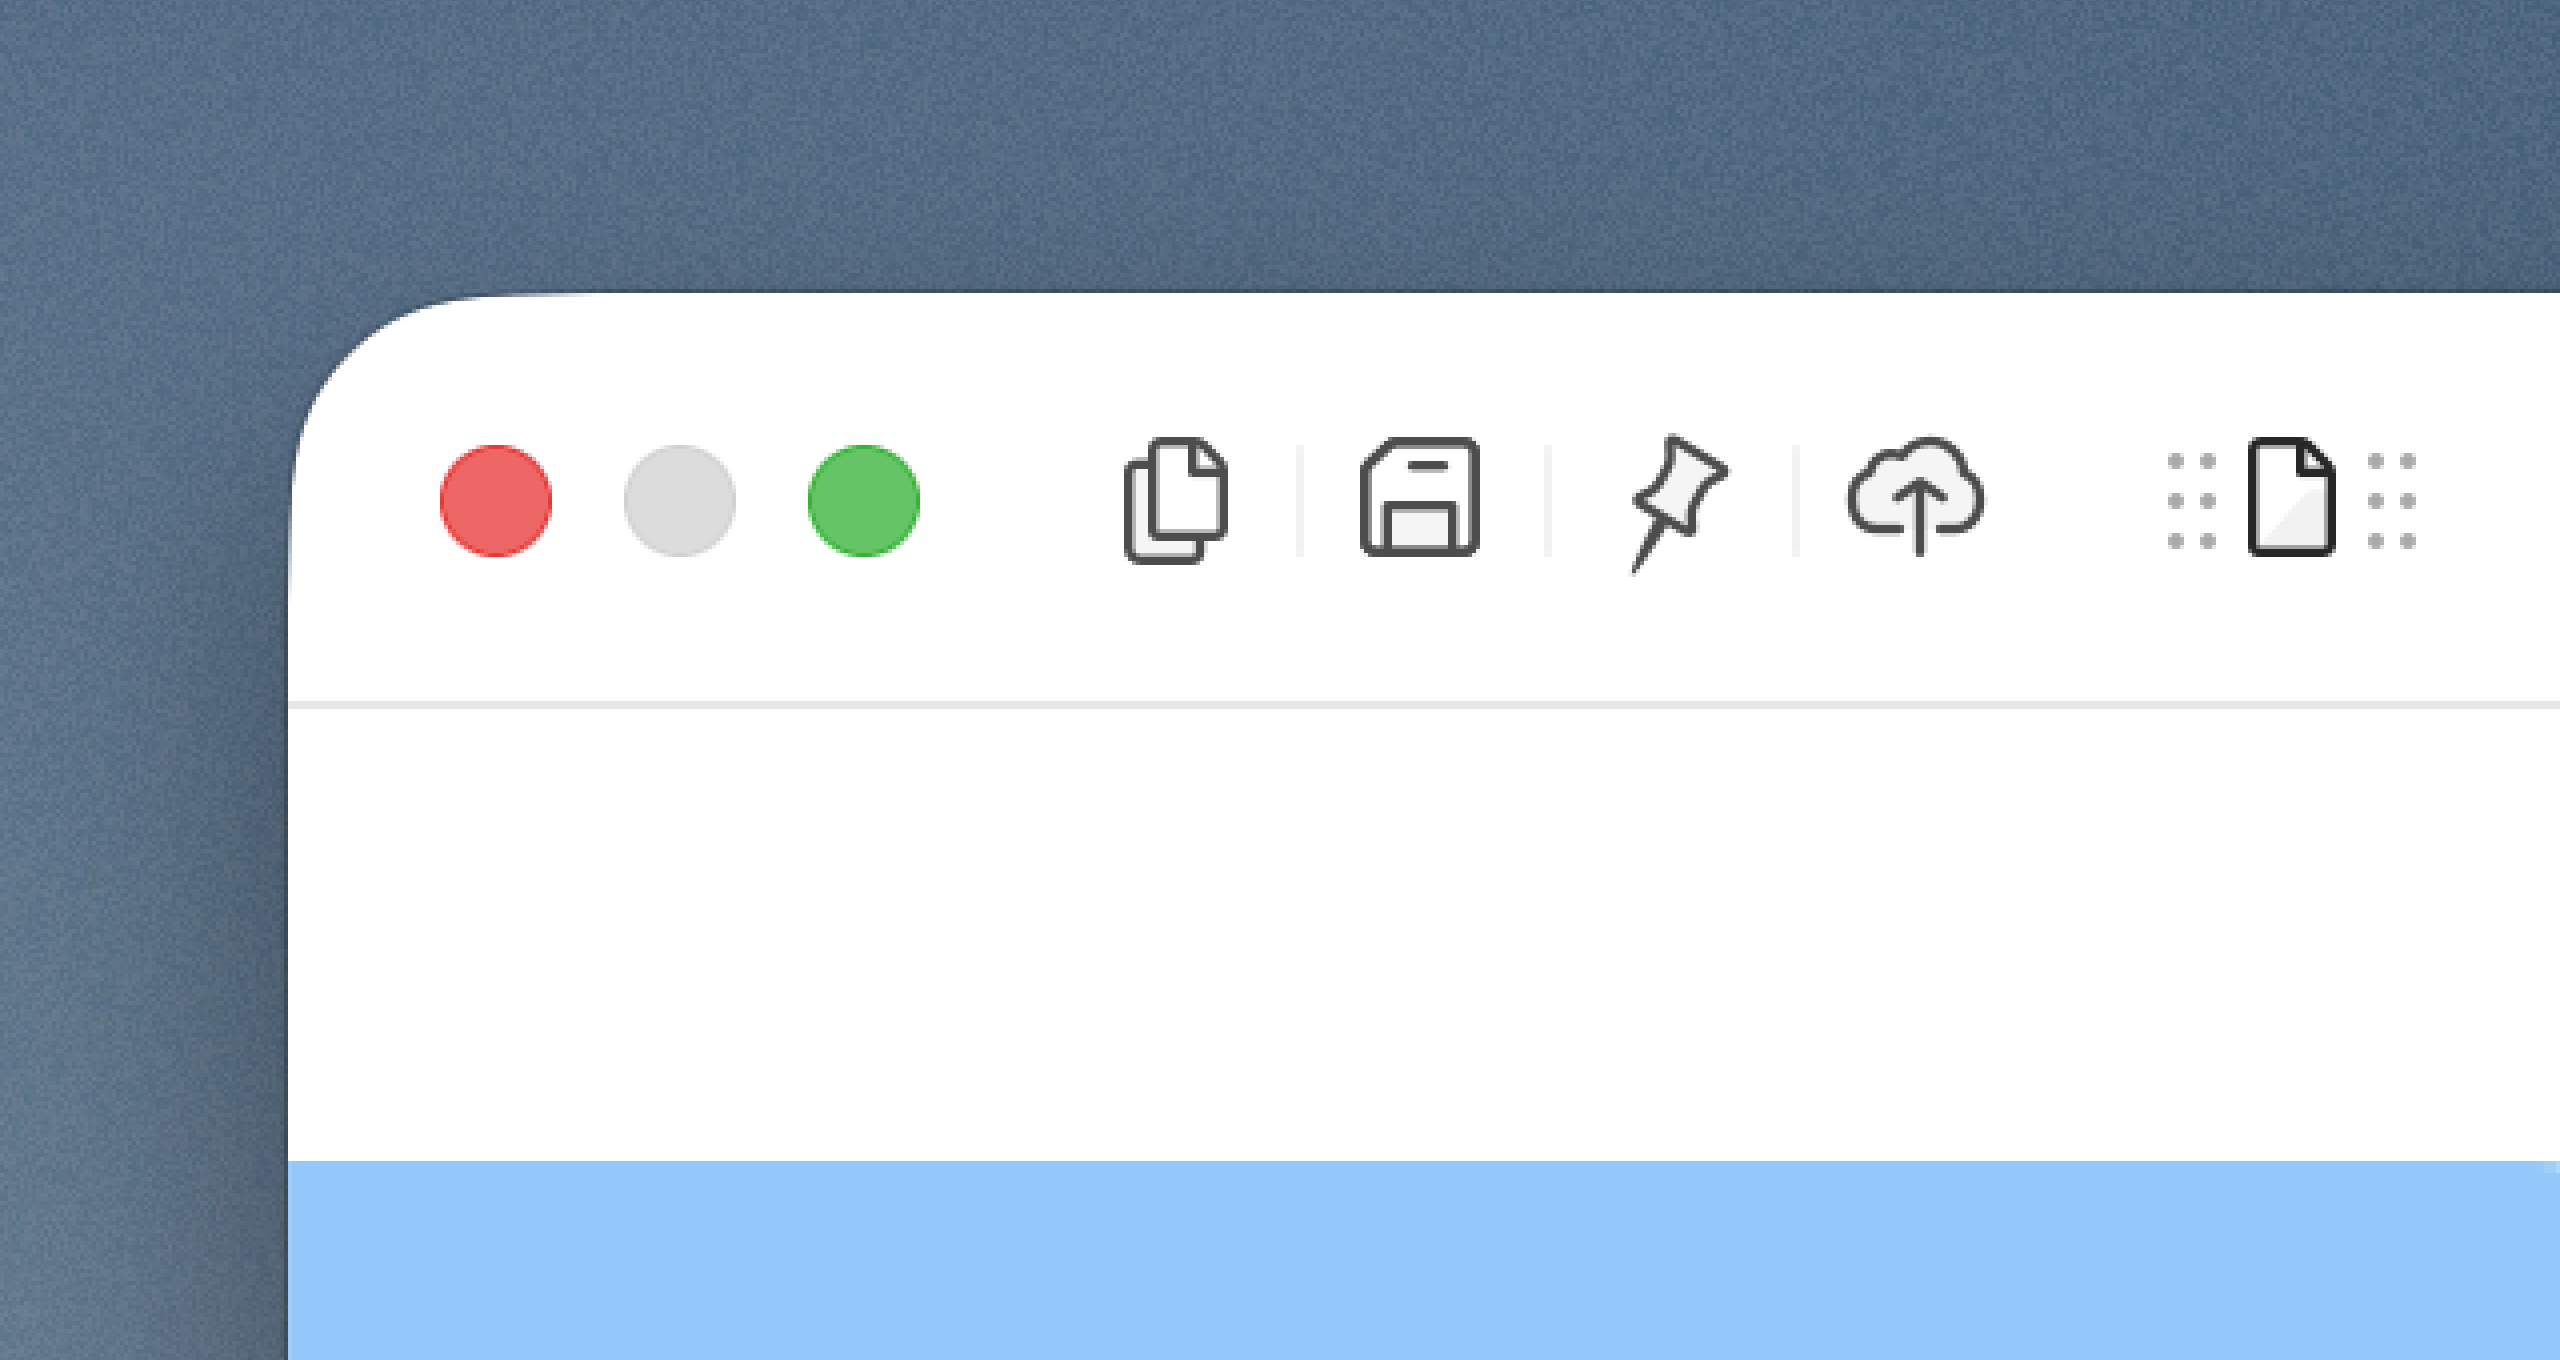
Once you’re happy with the screenshot, you’ll naturally want to get it out of Shottr. The main export actions sit on the left of the Editor toolbar: you’ll see icons for Copy, Save, Pin, and (if configured) Upload.
Copy (Cmd+Shift+C) places the image onto your clipboard, which you can later paste into chat apps, documents, and emails. It’s not copying a file in the Finder sense; it’s copying the image data, so it behaves like a pasteable screenshot, not like a pastable file.
Save (Cmd+S) writes a file to your default screenshot folder. The first time you do it, Shottr will ask you where you want that folder to be, and after that it will save all images there. You can always change the default screenshot folder location in the app Settings. Shottr saves each file with an automatic name that includes date and alpha-numeric timecode to ensure proper sorting in Finder. If you prefer to name each screenshot manually, Shottr also supports a Save As operation (menu File → Save As, or Cmd+Shift+S).
After you copy or save, Shottr hides the Editor window automatically to get out of your way. The assumption is that once you’ve exported the screenshot, you’re done with it. But the screenshot itself hasn’t vanished, it still sits in the Editor window, even if the window is closed. You can bring it back anytime by choosing “Reopen Shottr” from the menu bar.
Another way to get the image is to use the little draggable icon. It allows you to drag the screenshot out of Shottr as if it were a file. You can drop this file onto your desktop, into a Finder window, into a message, into an email draft, or into any other app that supports image files. It’s one of those features that people don’t notice at first, and then it becomes the fastest way they share screenshots.
Pinning is a special mode worth calling out because it’s not really about exporting. Pin turns your screenshot into a floating panel that stays above other windows, like a reference card on your desktop. It’s useful when you’re copying information from one place to another, following steps, comparing something, or keeping a small diagram in view while you work. Pinned screenshots can often appear above full-screen apps too, though macOS can be inconsistent about full-screen behavior depending on version and setup. And if you decide you want to edit the pinned image again, there’s a small pencil icon that reopens the image in the editor.
Using Custom Hotkeys for Shottr
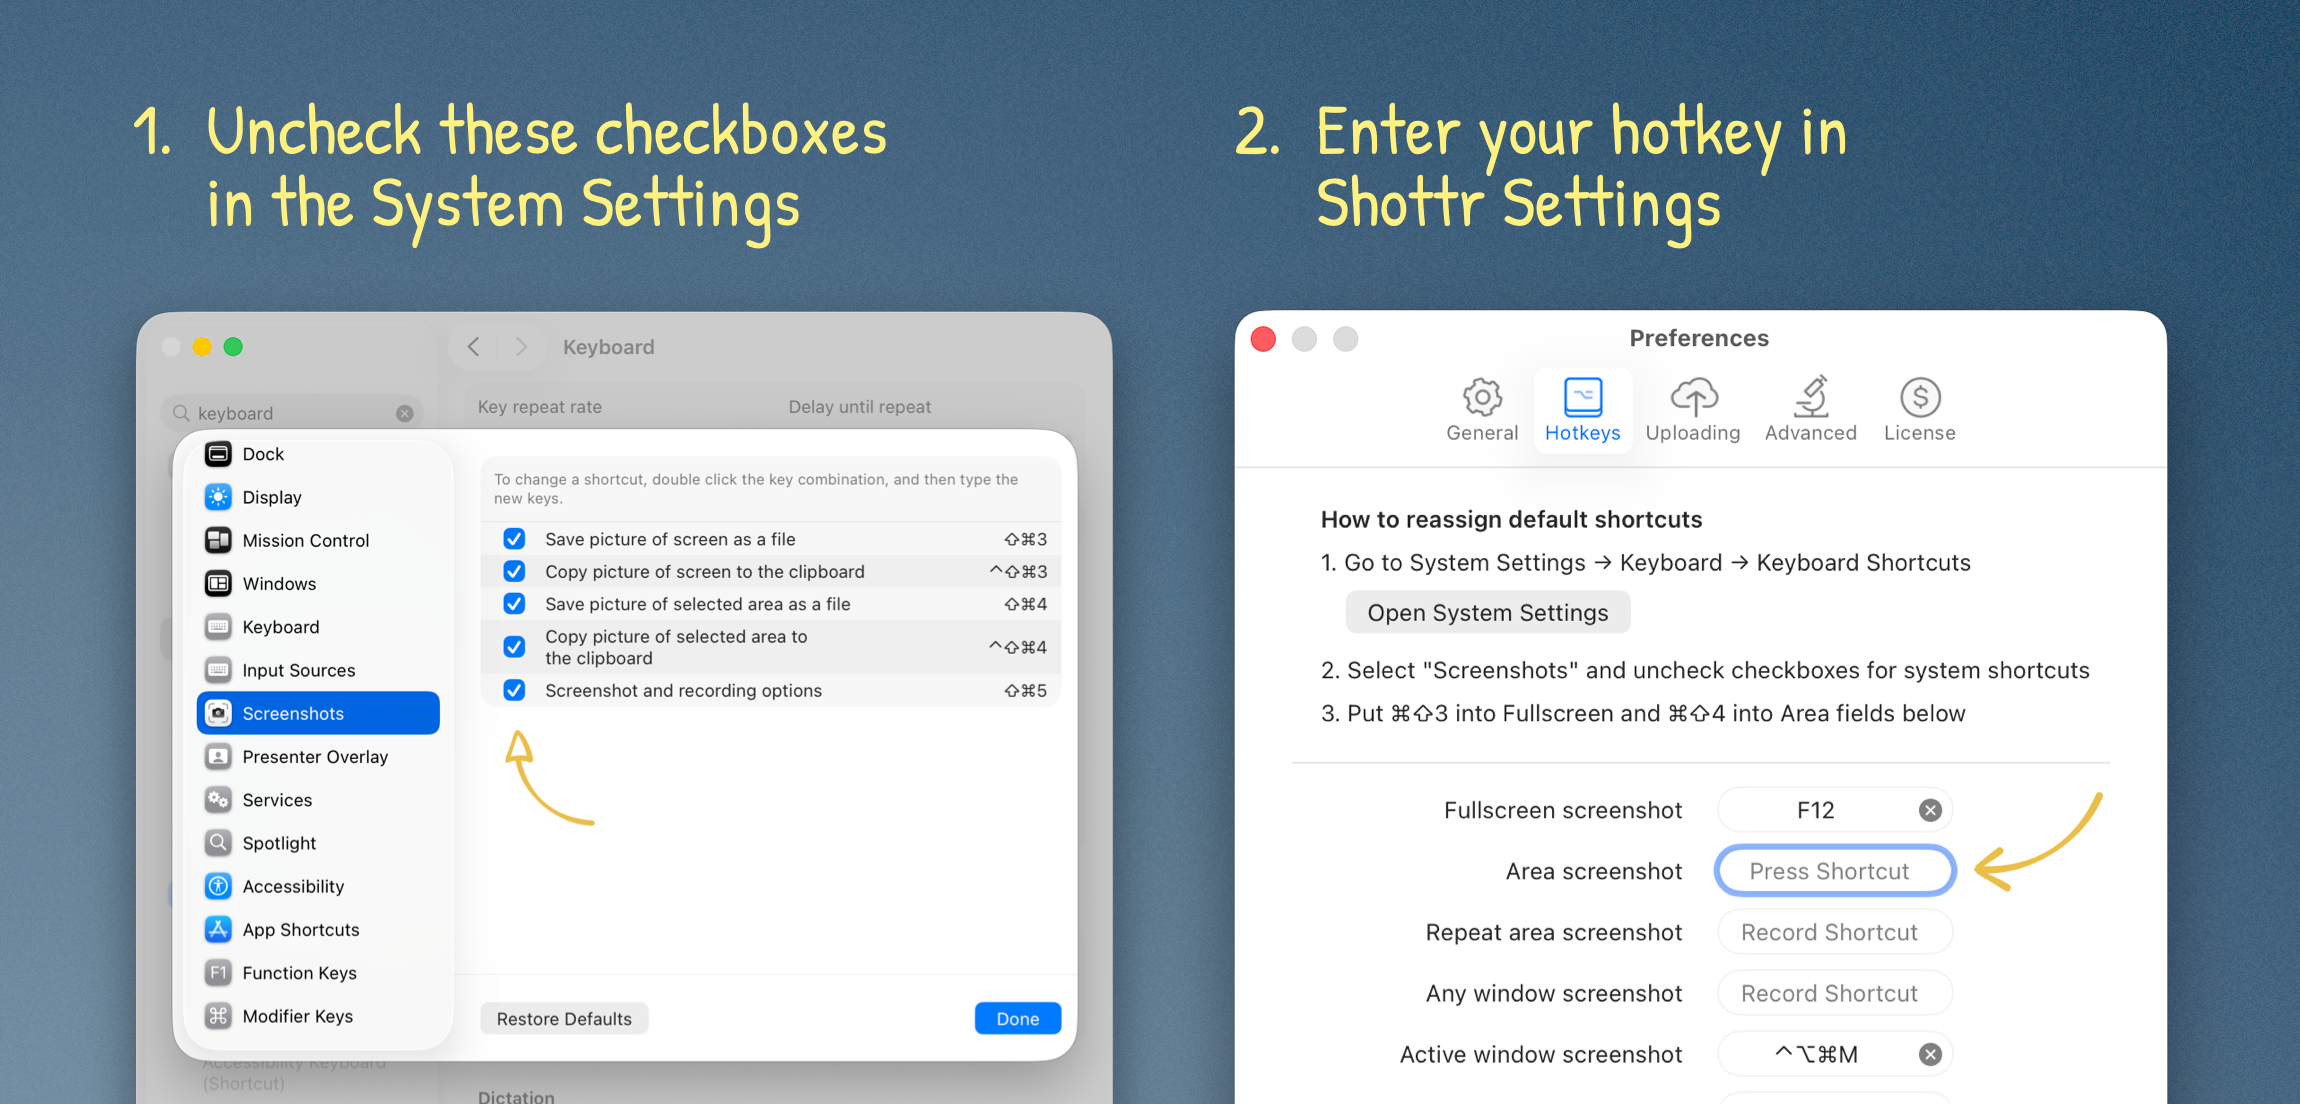
Once you get comfortable with Shottr, you’ll probably want to adjust hotkeys assigned to your preferred screenshotting commands. You can do this in the Settings, on the Hotkeys tab. A lot of people prefer to use macOS’s default key combinations Cmd+Shift+3 and Cmd+Shift+4 with Shottr. It’s possible, but macOS already owns these key bindings, and you’ll need to disable the system screenshot shortcuts first. To do this, click on the Open System Settings button on the Hotkeys tab, then select Screenshots in the list on the left, and uncheck the checkboxes for the system shortcuts. After that, you can assign desired key combinations in Shottr.